.NET Aspire
Setup
-
Create a new project
mkdir Aspire
cd Aspire
dotnet new ssw-ca -
Open in rider
rider .
AppHost
-
Explore
program.cs:- Container Lifetime
- AddDatabase
- Custom command
- Referencing resources
- Waiting for resources to finish
- Icons - these match up with traces
- Parent child relationships
- Persistent containers
-
Explore ServiceDefaults
-
Explore Integrations in Infrastructure
Dashboard
-
Run the project
cd Tools/AppHost
dotnet run
OR
dotnet tool install --global aspire.cli --prereleaseaspire runinfoAspire CLI will search and run the AppHost project. No need to be in the exact directory.
-
Explore the dashboard
- Projects
- Logs
- Traces
- Metrics
Add storage the AppHost
Let's say we need to add blob storage and queues to our application.
-
Add the hosting storage package
dotnet add package Aspire.Hosting.Azure.Storage -
Add the storage to the AppHost
// Add Azure Storage Emulator
var storage = builder.AddAzureStorage("storage").RunAsEmulator();

// Add a blob group and a container
var blobs = storage.AddBlobs("blobs");
var container = blobs.AddBlobContainer("images", blobContainerName: "image-uploads");

// Add a queues to storage
var queue = storage.AddQueues("queues"); -
Add the blob reference into the API:
.WithReference(blobs) -
Run Aspire and check the resources are created
aspire run -
Inspect the blob connection string from the API configuration
Configure Cloud Infrastructure
By default, Aspire will deploy everything as a Container App. However, as of recently, we can now configure it to use Azure App Service and Azure SQL Database.
-
Add nuget packages
cd Tools/AppHostdotnet add package Aspire.Hosting.Azure.AppService --prerelease
dotnet add package Aspire.Hosting.Azure.Sql --prerelease -
Add App Service Environment
builder.AddAzureAppServiceEnvironment("aspire"); -
Use Azure SQL Database
var sqlServer = builder
    .AddAzureSqlServer("sql")
    .RunAsContainer(container =>
    {
        // Configure the SQL Server container
        container.WithLifetime(ContainerLifetime.Persistent);
        container.WithHostPort(1800);
}); -
Ensure our Database has an appropriate name and schema
var db = sqlServer
    .AddDatabase("clean-architecture", "clean-architecture");
// .WithDropDatabaseCommand(); -
Configure API to be an Azure App Service
builder
    .AddProject<WebApi>("api")
    // 👇 Changed
    .WithExternalHttpEndpoints()
    .PublishAsAzureAppServiceWebsite((infra, site) =>
    {
        site.SiteConfig.IsWebSocketsEnabled = true;
        var mySetting = new AppServiceNameValuePair{Name = "MySetting", Value = "MyValue"};
        site.SiteConfig.AppSettings.Add(new BicepValue<AppServiceNameValuePair>(mySetting));

        // Update other settings like auth or SKU
    })
    // 👆 Changed
    .WithReference(db)
    .WithReference(blobs)
    .WaitForCompletion(migrationService);
Deploying to Azure
-
Ensure you login are logged into the correct Tenant in Azure:
azd auth login --tenant-id <tenant-id>infoYou can find details on how to install azd here
-
Confirm / update your subscription via:
az account list --output tableaz account set --subscription <subscription-id>az account show -
Init AZD
azd init -
Deploy app
azd upinfoThe
azd upcommand will create the resources defined in the manifest and deploy the application to Azure Container Apps. This combinesazd package,azd provisionandazd deploycommands.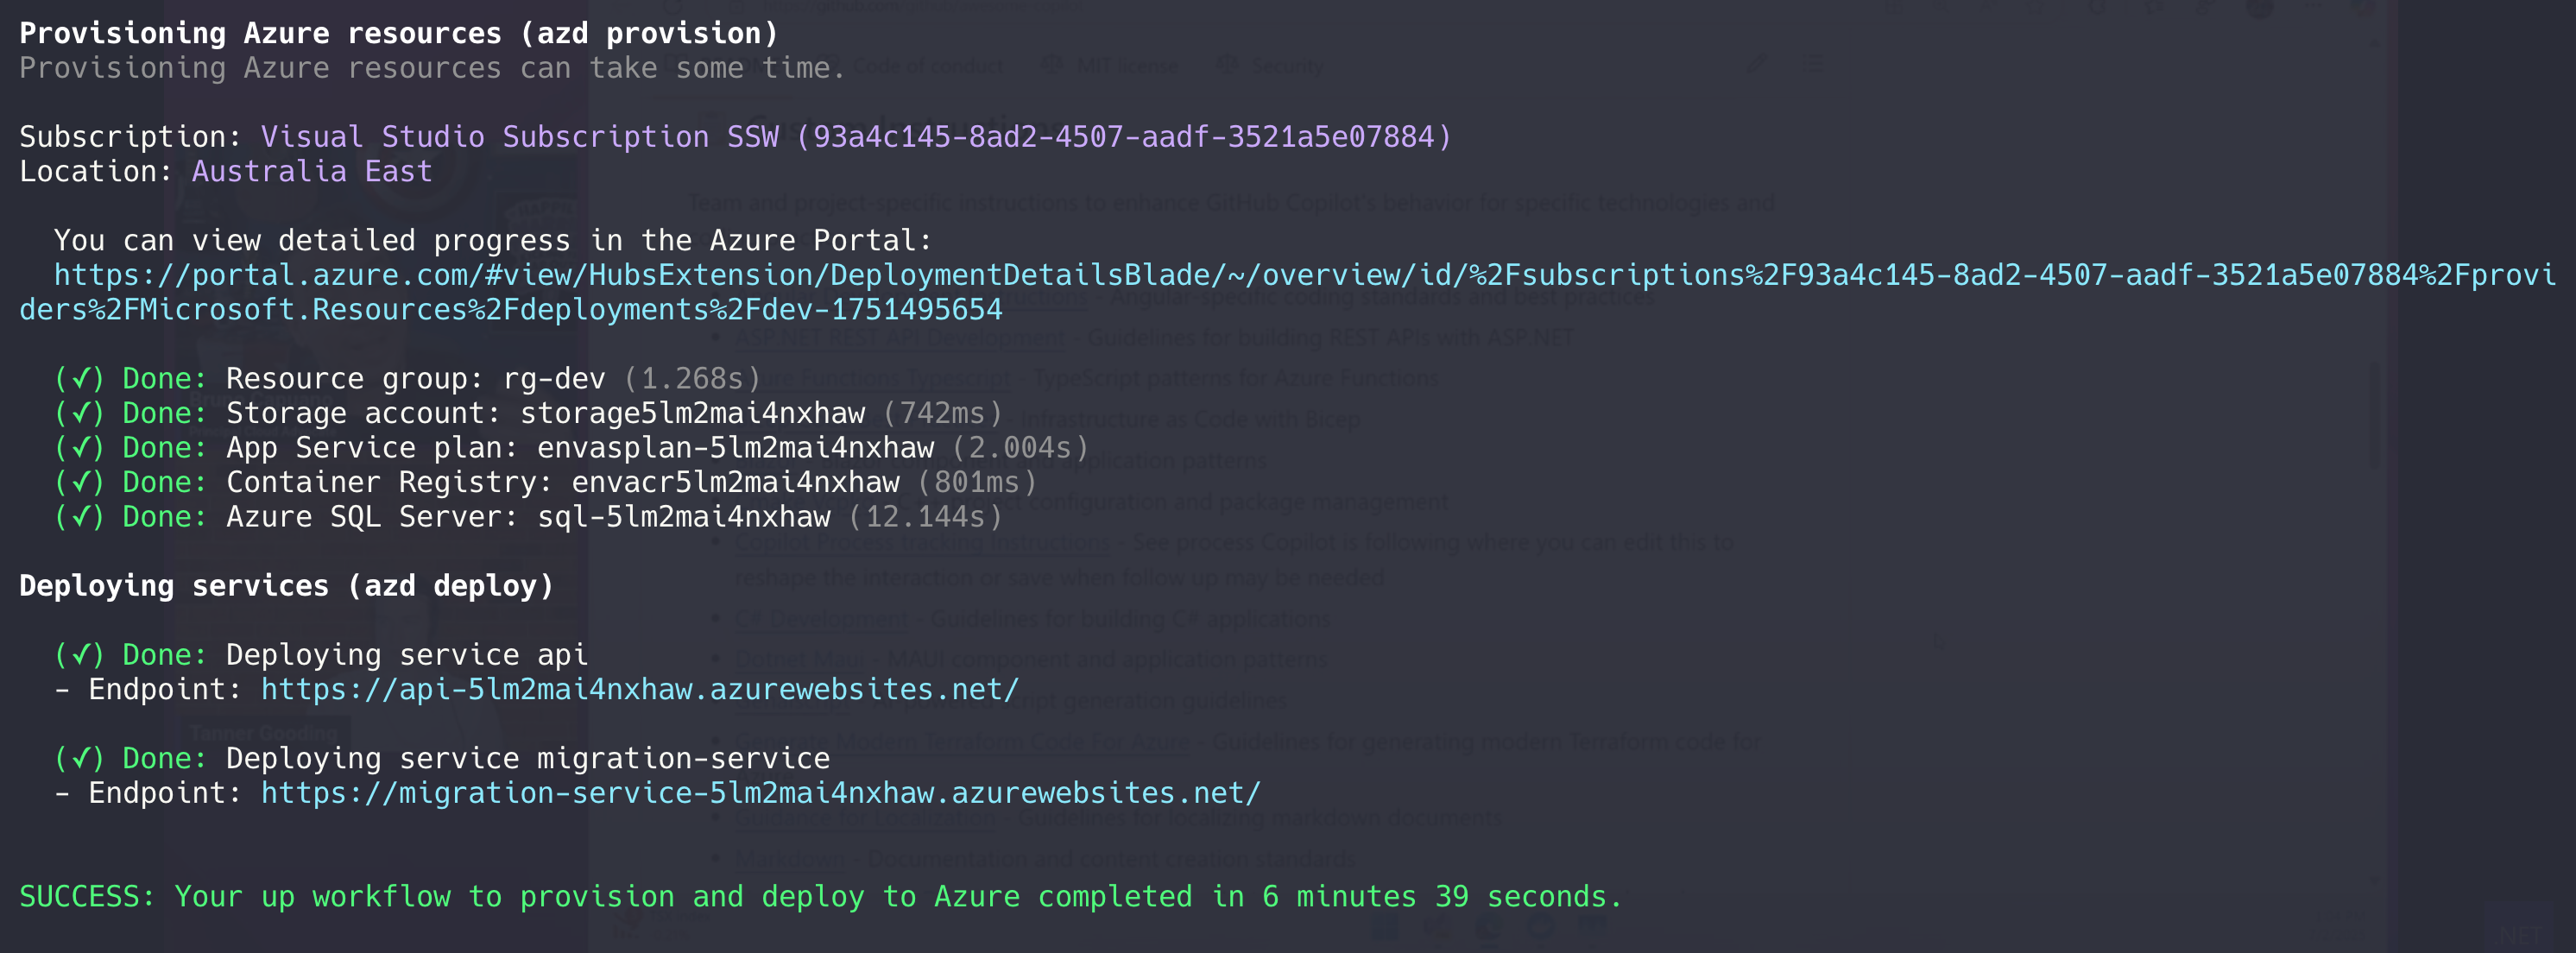
-
Login to the Azure Portal
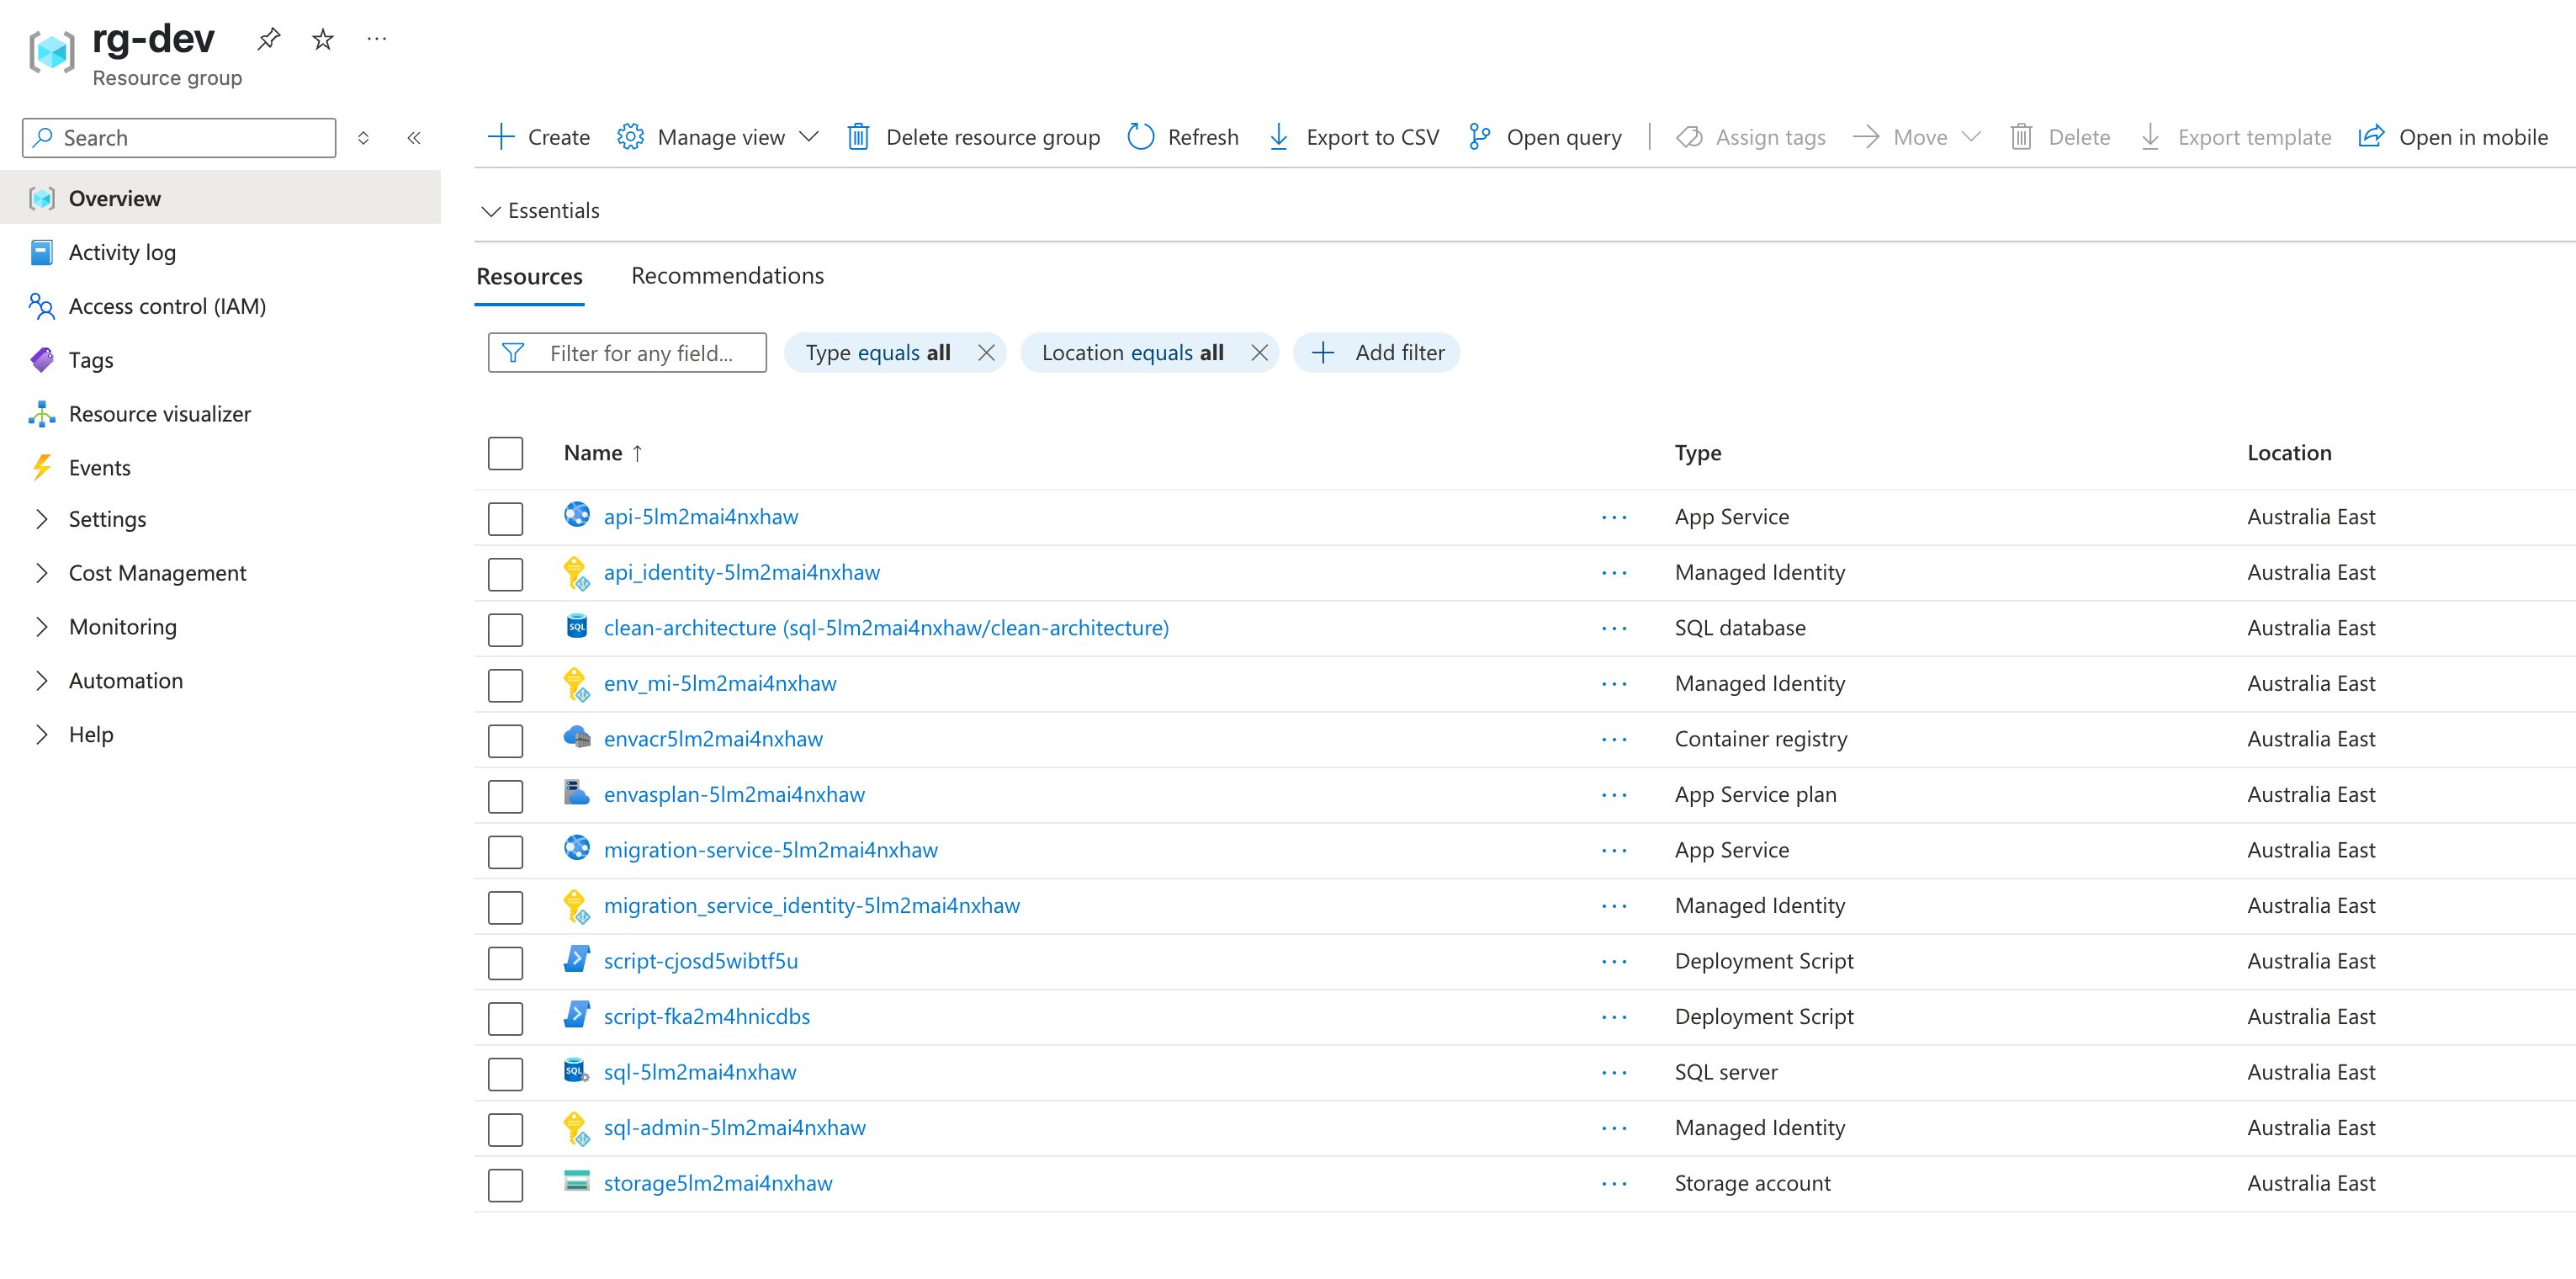
-
Explore the resources created
- Container Apps are not used
- Azure SQL Database created
- App Service Created
- Configuration set
- Scalar UI can be viewed
- Blob Storage created